How to roast coffee 10 Steps to Roast Coffee for a Delicious Cup

How to roast coffee 10 Steps to Roast Coffee for a Delicious Cup, Coffee roasting is a crucial process that determines the flavor, aroma, and overall character of coffee. Green coffee beans, in their raw form, do not yet have the taste we associate with coffee. The distinctive flavors acidity, sweetness, bitterness, and complex aromas are developed during the roasting process.
Below are 10 essential steps to roast coffee properly and achieve a delicious, high-quality cup.
1. Choose High-Quality Green Coffee Beans
The first and most important step is selecting good-quality green coffee beans. Look for:
- Uniform bean size
- No broken, black, or moldy beans
- A fresh, clean aroma
High-quality beans result in a cleaner and more consistent flavor after roasting.
2. Understand the Coffee Origin and Characteristics
Each coffee origin has unique flavor characteristics:
- Africa: fruity notes, bright acidity
- Latin America: balanced, sweet flavors
- Asia: earthy notes, full body
Knowing the origin helps you determine the right roasting profile to preserve the coffee’s natural qualities.
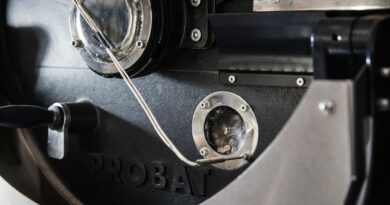
3. Use the Right Roasting Equipment
Coffee can be roasted using different tools, such as:
- Coffee roasting machines
- Drum roasters
- Air fryers (for home roasting)
- Frying pans (manual method for beginners)
For best results, use equipment that offers stable temperature control.
4. Preheat the Roaster
Before adding the beans, preheat the roasting equipment to around 180–200°C (356–392°F).
Preheating ensures even roasting and prevents underdeveloped or “green” flavors.
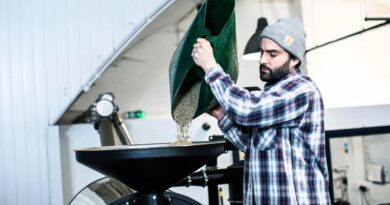
5. Load the Beans with the Correct Capacity
Avoid overloading the roaster. Too many beans can cause:
- Uneven heat distribution
- Inconsistent roasting results
Always follow the recommended capacity of your roasting equipment.
6. Observe Color and Aroma Changes
As roasting progresses, the beans will go through visible changes:
- Green → yellow
- Grassy aroma → bread-like aroma
- Gradual browning
This stage indicates the Maillard reaction, which is essential for flavor development.
7. Listen for the First Crack
The first crack sounds like small popping noises, similar to popcorn.
It indicates that:
- Moisture inside the beans is evaporating
- The bean structure is expanding
At this point, the coffee typically reaches a light roast, known for bright acidity and complex aromas.
8. Decide the Roasting Level
Choose the roast level based on your desired flavor profile:
- Light Roast
Bright acidity, fruity notes, ideal for pour-over brewing - Medium Roast
Balanced sweetness and acidity, most popular choice - Dark Roast
Bold bitterness, smoky flavor, heavy body
Precise control of time and temperature is critical to avoid over-roasting.
9. Cool the Beans Quickly
Once roasting is complete, the beans must be cooled immediately.
If not cooled properly:
- Roasting continues internally
- The coffee may develop burnt or bitter flavors
Use a cooling tray or forced airflow to stop the roasting process quickly.
10. Store and Allow Proper Degassing
After roasting, coffee beans need degassing time usually 3 to 14 days to release carbon dioxide (CO₂).
Storage tips:
- Use airtight containers
- Store in a cool, dark place
- Avoid refrigeration
Proper degassing allows the coffee to reach its optimal flavor.
Conclusion
Coffee roasting is not just about applying heat it is a blend of science and craftsmanship. By following these 10 coffee roasting steps, you can achieve a more flavorful, balanced, and enjoyable cup of coffee.
Whether for home brewing or professional roastery operations, understanding the roasting process will significantly enhance coffee quality.